Hi friends how are hope you all are fine. I am Dinesh, welcome you all to ngdinesh website. In this article we are going to tell you about kindmaster. So read this article till the end. Without wasting time let’s start.
Kindmaster is used for video editing. It is the most used app in the market. Let me tell you that many apps have come in the market, yet Kindmaster is used the most.
Why don’t you use Kindmaster
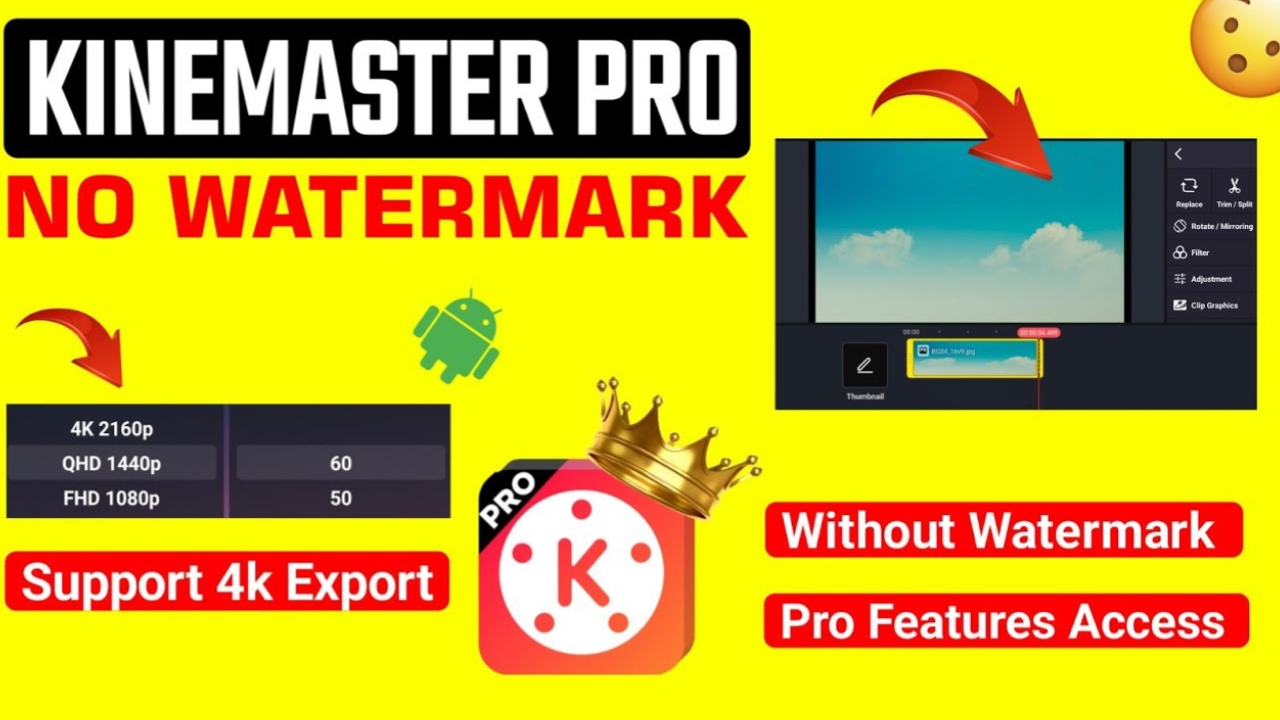
The reason why no one uses Kindmaster these days is that Kindmaster is paid, even if you download it for free, it has a watermark which doesn’t look good on the video, that’s why people don’t use Kindmaster.
KineMaster is an easy-to-use editing app with lots of features. Its drag-and-drop features let you edit videos on the go, as well as add media to it.
How to Use KineMaster, Step-by-Step
KineMaster is a free app that offers subscriptions for additional features.
KineMaster is available for both Android and iPhone; we’re focusing on the Android version here.
1. prepare your concepts and materials
First, consider the message you want to deliver and find a video relevant to it. This step is especially important for those who want to create professional videos, such as advertisements and other promotional materials.
If you’re just making quick edits to a video shot on your device, this shouldn’t take long.
2. open kinemaster and create a project
After downloading the app to your phone, launch it. When you open kinemaster, you’ll be greeted by a landing page with the option to start a new project or continue editing a previous one.
To start a new project, tap Create new project (the plus sign button in the middle) and choose an aspect ratio for your video.
The aspect ratio you choose depends largely on where you want to publish the video. For example, 16:9 is suitable for YouTube, while 9:16 is best for Instagram. For smaller screen sizes, you can use 1:1.
Next, tap Media to open the Media Browser section. It’s filled with folders containing images and videos.
Select the video clip you want to work on, which will import it into the project window. Then, press the checkmark at the top-right to save the video clip. Repeat this process to add more video clips, if desired.
3. trim your video
To trim your video, select the video clip you want to customize, and the border will appear in light yellow. Tap the scissors icon (Trim/Split menu) in the upper right corner to open multiple trimming options in a single area.
This opens four options to choose from: Trim Right of Playhead, Trim Left of Playhead, Split at Playhead, and Split and Insert Freeze Frame.
To cut the clip to only the video that appears after the current position, select Trim Right of Playhead. The trimmed video will have a shorter duration.
You can also set the clip to only include content before the current position using the Trim Left of Playhead option. To split one video clip into two, use Split at Playhead.
To see your progress, press the Play button and watch the video while you edit. If you’re satisfied with the results, tap the checkmark at the top to save.
4. Add Video Transitions
Choose the video you want to add transitions between. You’ll see a plus (+) on the side of each video clip. To add a transition, tap the plus; several options will appear on the right.
You can select from options like Classic Transitions, 3D Transitions, Picture-in-Picture, Text Transitions, and more.
After you choose the one you want, tap the tick mark at the top to save your choice. For this example, we’ve selected Crossfade > Classic Transitions.
To preview the transition, move the slider to where the transition is and press the Play button.
5. add text to a video
To add text to your video, hit the Layer icon to open a window of options. From the options, choose Text.
Write your text and press OK to display some small text throughout the video. Tap and drag the text to make it larger or smaller.
Tap the Aa symbol, on the right, to select a font type that matches the tone of your video. Then, press the checkmark in the upper-right corner to save your changes. You can also add other elements to your text: color, shadow, background, and animation effects.
There are many attractive animation effects you can add to your text. For this tutorial, we used In Animation > Letter by letter.
To adjust the text color, press the white circle next to the scissors icon and choose your color.
6. Add Background Music
To add music to your video, place the vertical red line on the project sheet where the music should start.
Then, hit the Audio icon on the main tools menu and choose the appropriate music from your phone. You can also import tracks from KineMaster’s audio browser.
For more options, consider browsing through sites that allow you to download free music to find legal downloads you can use in your videos.
Once you’ve selected the music, tap the red plus sign that appears. This will add the music to the project, and your audio will begin playing.
If you’re confident with the song choice, tap the red plus sign, and you’ll see the track’s name at the bottom.
7. Export Your Video From KineMaster
When you are finished editing and are satisfied with the final product, tap the export symbol in the upper-right corner. You can export the video at the recommended quality or adjust the video resolution, frame rate, and bitrate as needed.
Your exported video will appear on the right. Tap the share symbol to upload it to YouTube and social media, or any other app available on your Android phone.
Use KineMaster to Edit Videos Easily
KineMaster is one of the best video editing apps for Android and iPhone. The app lets you make videos look professional by editing them in easy few steps. With its straightforward interface and powerful features, anyone can decorate videos even without experience.
Meanwhile, video editing is one of the ways to stretch your creative muscles on your phone.